Vine Tutorial
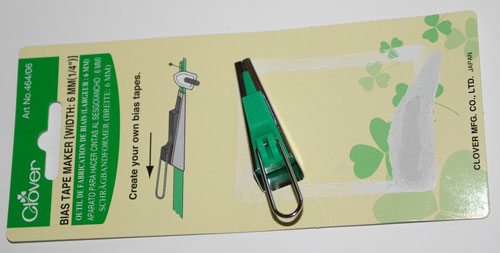
There are many different ways to make a vine or stem, but I discovered this little tool from Clover that makes it really quick and easy. It is their Bias Tape Maker 6mm (1/4″). These come in five widths (1/4″-2″). Since I make 1/4″ wide stems or vines most of the time, I thought this would be a handy tool. You can even use it to make 1/8″ wide stems, which I will show you at the end.
Here is how it works. With the Clover Bias Maker 6mm, cut a bias strip 1/2″ wide. It can be as long as you wish, but if you have to join strips, the seams don’t go through the tool that well.
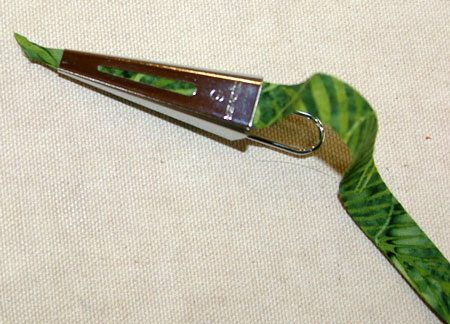
Feed it through one end and press with an iron, as it emerges, at the other end. The folds are made as it passes through the tool and are pressed. I found that batik makes the best bias vines, as looser weaves of fabric don’t hold their folds as well. You can pass a damply starched piece through, but it stretches easily, because it is wet.
Sticking a pin in the end holds it as you pull the tool away from the iron.
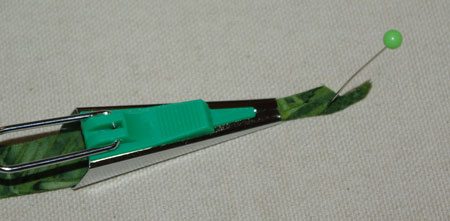
Press with the iron, I like my little Clover Iron, it works well with the way I prepare my applique with starch. I will blog about that next time. Mmmm, sounds like I am advertising for Clover, not! However, if a company has a tool I like, I don’t mind telling you about it.
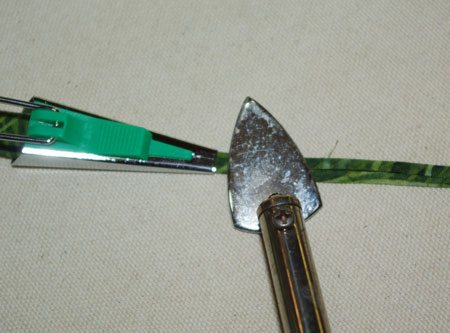
This is how you can make narrow 1/8″ wide stems with it. Trim away one fold, then simply fold the remaining pressed piece in half, pressing it again. Perfect for tiny tendrils.
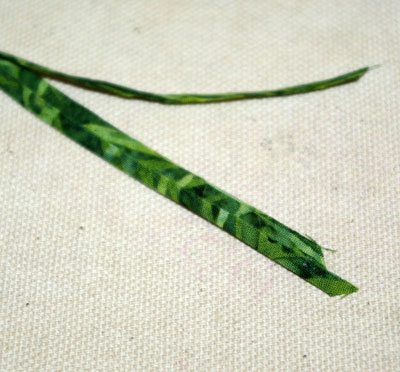
Then fold again, instead of four layers, you will only have three. For something so small you really don’t need all that bulk.
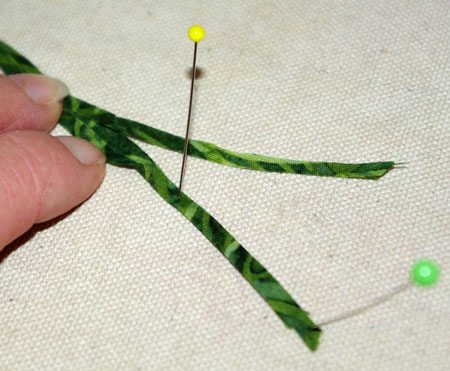
I am holding it open, beyond the yellow pin, so you can see how it is folded.
Applique by Freezer Paper
The Freezer Paper Applique Method is popular, surprisingly easy and completely satisfying.
It attends to all those important details which are so important: like smooth edges, clean tucks and sharp lines. Whilst traditional needle turn applique is my favourite and most cherished technique, this is the technique I use the most. It's so practical. If you haven't tried it - I can only recommend that you do.

Simply brush fabric edges with starch

Turn with a hot iron, using the freezer paper insert as your edge guide

Remove the freezer paper easily

Inner view of turned piece

the completed applique shape
I know many of you are familiar with this technique, however from the emails I have received this week I realise that there are still some quilters who are not confident using this method.
This is the technique I will be using throughout Hearts Desire and as there is so much applique in this BOM, I have decided to show some more detail in the slides below.
Coming up in this BOM, you will be creating applique leaves ...so I have created a leaf in the tutorial below which shows exactly how I do it.
2015 update: I'm re-posting this technique which was first posted in 2011 as I'm asked about it so often. This is the same technique I use today except that these days, I replace the freezer paper with a wash away fusible instead. The method remains the same.
No comments:
Post a Comment